

Winterizing Your Greater Atlanta Home
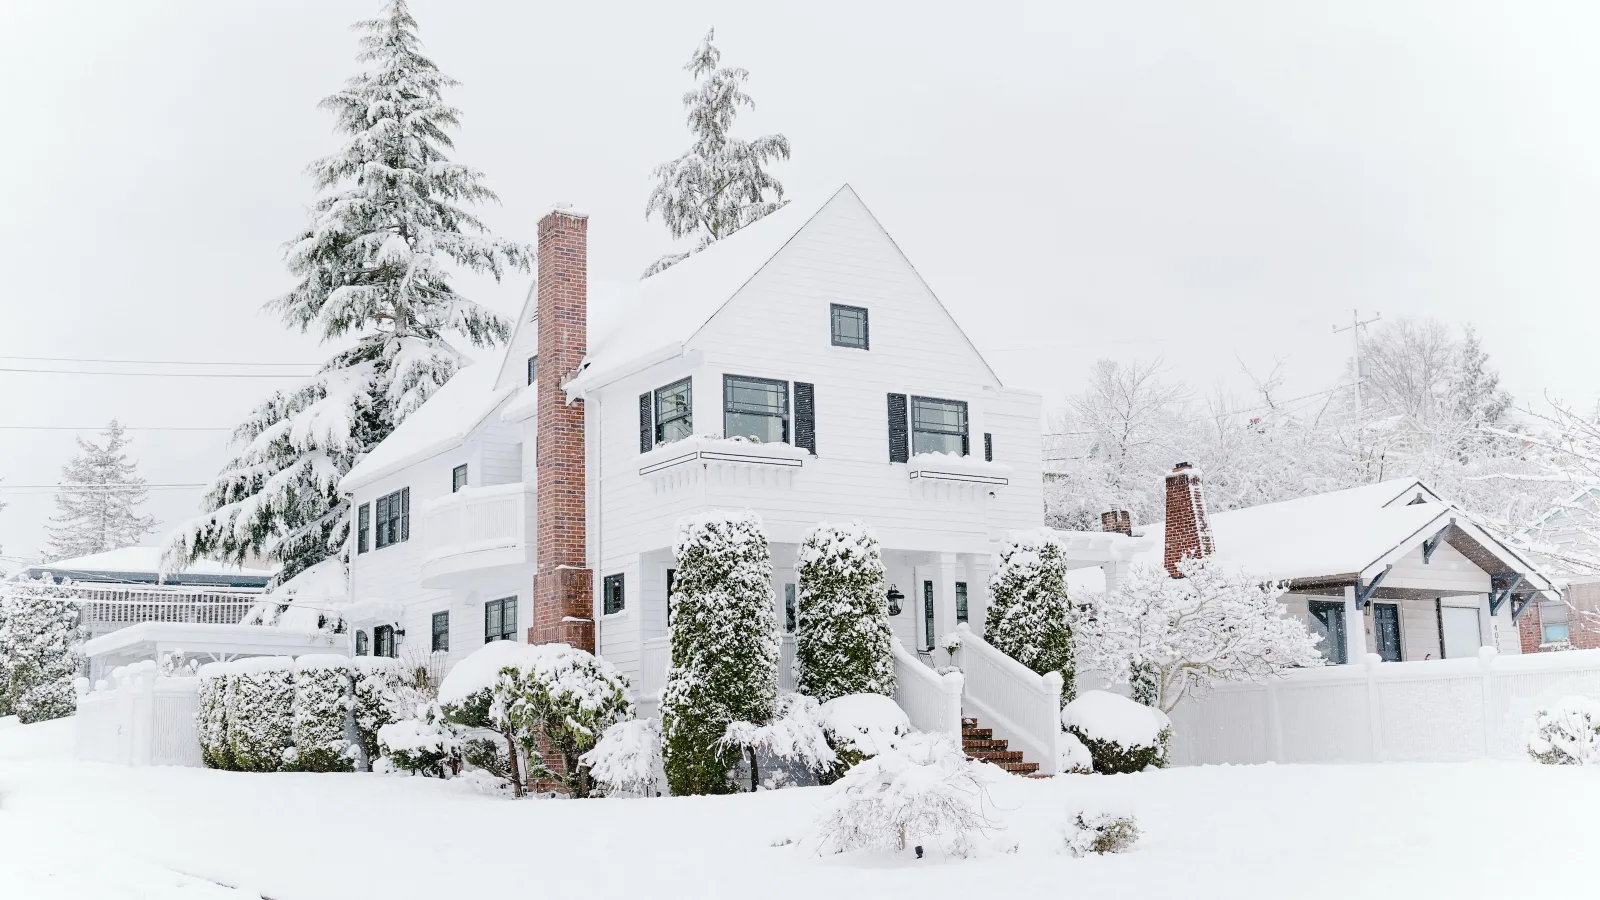
Georgia winters are mild by
national standards, but mild does not mean maintenance-free. Marietta and the
broader Atlanta area still see temperatures dip below freezing, ice storms that
can stress roofs and gutters, and cold snaps that test pipes and heating
systems that haven't had a fall checkup. Homeowners who get through
winter without a burst pipe, a failed furnace, or a surprise spike in their
energy bill are the ones who took an hour or two in the fall to prepare.
Winterizing a house does not
have to be a major project. Much of it is routine maintenance any homeowner can do on a weekend afternoon. Other parts, particularly
anything involving your heating
system, ductwork, or gas appliances, benefit from a professional set of
eyes. This guide covers both, starting with a quick-scan checklist and then
walking through each area in detail, including what home winterization
typically costs.
Home Winterization Checklist
Work through these before the
first hard freeze. Each item is covered in detail below.
·
Seal air leaks around doors, windows, outlets, and pipe
penetrations
·
Check attic and crawl space insulation and add where needed
·
Service your furnace or heat pump with a professional fall tune-up
·
Replace the HVAC filter and verify the thermostat is working
correctly
·
Insulate exposed pipes in the garage, attic, and crawl space
·
Flush and service your water heater before the cold months
·
Cover or prepare outdoor AC equipment for the off-season
·
Clean gutters, trim overhanging tree branches, and clear exterior
drains
·
Test smoke detectors and carbon monoxide detectors and replace
batteries
·
Schedule a home energy checkup to identify where energy is being
wasted
How to Winterize Your Home
1. Seal Air Leaks First
Air leakage is the single
biggest driver of wasted heating energy in most homes, and it is also one of
the cheapest problems to fix. According to the U.S. Department of Energy, air drafts can
account for 25 to 40 percent of the energy used for heating and cooling in a
typical home. That is a significant figure, and most of it escapes through gaps
that are neither obvious nor difficult to address.
Start with the places where the
building envelope is most likely to have gaps. The building envelope is the
physical barrier between your conditioned interior and the outdoor air. The
most common weak points are
•
Exterior doors. Run your hand along the bottom
and sides of each exterior door while the door is closed. If you feel cool air, replace the weatherstripping. A door sweep on the bottom seals the
gap between the door and the threshold.
•
Windows. Check the caulking on the exterior of
each window frame. Cracked or missing caulk allows cold air to seep in around
the frame. Window film kits can add a secondary insulating layer to older
single-pane windows through the winter months.
•
Electrical outlets and switches on exterior walls. These
are a frequently overlooked source of air leaks. Foam gaskets installed behind the
cover plates seal the gap between the box and the wall cavity. This is a simple
DIY task, and materials are available at any hardware store.
•
Pipe and wire penetrations. Anywhere a pipe,
wire, or duct passes through an exterior wall or the foundation is a potential
air gap. Expanding foam sealant closes these quickly and permanently.
•
Attic hatch or pull-down stairs. These are among
the largest single air leakage points in many homes. Weatherstripping the hatch
frame and adding rigid foam insulation to the back of the hatch panel makes a
noticeable difference.
For a more comprehensive
assessment of where your home is losing conditioned air, a home energy checkup uses a blower door test to
identify and quantify leakage points throughout the structure. This is especially useful before investing in major insulation or ductwork
improvements.
2. Check Attic and Crawl Space Insulation
Insulation partners with air
sealing to provide comprehensive winterization coverage that also helps reduce
energy costs (and summer energy bills). Where air sealing
stops air movement, insulation resists heat transfer through
solid surfaces. A home with well-sealed air boundaries but inadequate attic insulation will still lose heat steadily through the ceiling. The
attic is the most impactful place for an insulation upgrade because heat rises, and an under-insulated attic lets that heat escape directly through
the roof.
The U.S. Department of Energy
recommends R-38 to R-60 insulation for attics in Georgia's climate
zone. If your attic insulation is visibly thin, damaged, or
compressed, adding insulation is one of the highest-return home improvement
investments available, with energy savings that compound over the full life of
the home. Crawl spaces in homes without basements should also be assessed,
particularly in older properties where ground floor moisture and cold air
intrusion from below are common issues.
3. Service Your Heating System Before Cold Weather Arrives
A furnace or heat pump that hasn't been serviced since last winter may fail precisely when
you need it most. Annual fall maintenance is the most effective way to prevent mid-winter heating emergencies, and it also keeps your equipment running at peak efficiency instead of fighting through
accumulated dust, wear, and calibration drift.
During a professional furnace tune-up, a certified technician
inspects the heat exchanger for cracks, cleans the burners, tests ignition and
safety controls, verifies the flue is venting correctly, checks refrigerant
levels on heat pumps, and identifies any components approaching failure. For heat pumps,
fall maintenance also includes checking the defrost cycle, which becomes
critical as outdoor temperatures drop.
Beyond the professional service
visit, every homeowner should do two things before winter.
•
Replace the HVAC filter. A clean furnace filter
entering the heating season protects system efficiency and air quality all
winter. Check your filter monthly and replace it every one to three months.
•
Test the thermostat. Switch the system to
heating mode and verify it calls for heat at the set temperature, that the
furnace responds correctly, and that warm air reaches all registers within a
few minutes. If anything seems off, common thermostat troubleshooting steps walk you through the most common issues.
4. Protect Your Plumbing from Freezing
Frozen pipes are one of the most
expensive winterization failures a homeowner can experience. According to the Insurance Information Institute, the
average home insurance claim for water damage from frozen and burst pipes runs
between $5,000 and $70,000 depending on the extent of the damage and how
quickly the situation was discovered. In Atlanta-area homes, the most
vulnerable locations are pipes in unheated spaces: the garage, attic, crawl
space, and exterior walls.
Steps to protect plumbing before
the cold months.
•
Insulate exposed pipes. Foam pipe insulation is
inexpensive and fits most standard pipe diameters. Pay particular attention to
pipes in the garage and crawl space, and any supply lines running along
exterior walls.
•
Disconnect and drain outdoor hoses. Water left
in garden hoses can freeze back into the hose bib valve and crack it.
Disconnect hoses, drain them, and store them indoors. Shut off the interior
valve feeding each hose bib if your home has them.
•
Know where your main shutoff is. If a pipe freezes and bursts, fast action limits the damage. Know where the main water
shutoff is located before you need it.
•
Keep the thermostat above 55 degrees when traveling.
A home that drops below 55 degrees during an extended absence is at genuine
freeze risk, even in Georgia.
Our licensed
Marietta plumbers can inspect exposed plumbing, add insulation where
needed, and assess whether older water heaters or supply lines are ready for
another cold season. If your water heater is more than ten years old, a
fall checkup is particularly worthwhile.
5. Prepare Your Outdoor AC Unit for the Off-Season
Your outdoor condensing unit
doesn't need to run during winter, but it benefits from a few minutes of prep before the cold months begin. The goal is to protect the
unit from debris buildup, ice damage, and rodent intrusion while it sits idle.
•
Clear debris from around and inside the unit. Leaves,
seed pods, and dirt that accumulate in the fins reduce efficiency when the
system starts up again in spring. Gently rinse the exterior with a garden hose
to clear the fins.
•
Trim vegetation around the unit. Maintain at
least two feet of clearance on all sides. Shrubs that grew close to the unit
over the summer can restrict airflow and encourage moisture retention.
•
Consider a breathable cover for the top of the unit
only. A mesh or breathable cover over just the top prevents debris
accumulation while avoiding moisture and rodent problems caused by fully
wrapping the unit. Do not use solid plastic covers that trap moisture inside.
If your AC unit needs service
before off-season storage, or if you noticed performance issues
during the past cooling season that were never resolved, fall is the ideal time
to address them. For example, many AC maintenance services include a full
end-of-season system check.
6. Inspect Ductwork and Consider Indoor Air Quality
Leaky ductwork is one of the
most common sources of heating inefficiency in greater Atlanta homes. The Department of Energy estimates that the
typical home loses 20 to 30 percent of conditioned air through duct leaks
before it reaches the living space. In winter, that means your furnace is
working significantly harder than it needs to, and rooms at the end of the duct
run may never reach comfortable temperatures. Duct
sealing is not a DIY task for most homeowners because it requires accessing
ducts in the attic, crawl space, or behind walls and sealing joints with mastic
sealant or metal tape (not standard duct tape, which fails quickly).
Winterization is also a good
time to think about indoor air quality. Homes sealed tightly
against the cold recirculate indoor air more continuously, which can
concentrate dust, allergens, and combustion byproducts if the filtration and
ventilation system can't keep up. An air purifier or a highly rated
furnace filter can make a meaningful difference, particularly for households
with allergies or respiratory sensitivities.
7. Test Safety Devices and Inspect for Carbon Monoxide Risks
Winter brings increased use of
gas appliances, portable heaters, and fireplaces, which collectively increase
the risk of carbon monoxide buildup in tightly sealed homes. According to the Centers for Disease Control, more than 400 people die from
unintentional carbon monoxide poisoning each year in the United States, with
incidence peaking in the winter months. CO is colorless, odorless, and
completely undetectable without a working detector.
Before winter arrives.
•
Test smoke and CO detectors monthly. Press the
test button and verify the alarm sounds. If it does not, replace the batteries
immediately. Replace most CO detectors every five to seven years.
•
Install CO detectors on every floor. Place one
near each sleeping area and one near any gas appliance. If your home does not
currently have CO detection on every level, this winter is the time to add it.
•
Have gas appliances inspected. Furnaces, water
heaters, and fireplaces all produce combustion byproducts. A cracked heat
exchanger, a blocked flue, or an improperly vented appliance can allow CO to
accumulate in the living space. For example, our electrical safety inspection service covers
smoke and CO detector assessment as part of the home evaluation.
8. Prepare Your Exterior and Yard
Exterior preparation often gets
less attention than the mechanical systems inside the home, but it prevents another category of winter damage that can be equally expensive to repair.
•
Clean gutters and downspouts. Clogged gutters
can cause water to back up under roof shingles or overflow and pool against the
foundation. In freezing temperatures, standing water in gutters forms ice dams
that add significant weight and can damage the gutter system and fascia.
•
Trim overhanging tree branches. Branches covered
in ice can hang over the roof, driveway, or power lines are a significant storm
damage risk. Trim any branches within reach of the structure while the weather
permits.
•
Inspect the roof and chimney. A visual
inspection from the ground can reveal missing shingles, damaged flashing around
the chimney, or debris accumulation in valleys. Address any visible issues
before winter precipitation arrives.
•
Clear exterior drains. Ensure that water has a
clear path away from the foundation. Standing water near the foundation can freeze and expand, creating significant pressure on basement and crawl space
walls over time.
What Does It Cost to Winterize a Home?
The cost to winterize a home
depends on which tasks you do yourself and which require a licensed
professional. For most residences in the greater Marietta area, the honest
answer is that home winterization falls into two distinct tiers, and understanding
which is which helps you plan realistically.
DIY Winterization Tasks
Based on comfort, the
preliminary air sealing and weatherproofing steps are well within reach for
most homeowners. Additionally, DIY tasks fall on the lower end of the winterization cost spectrum. For example, weatherstripping replacement, window
caulking, outlet gasket installation, pipe insulation, attic hatch sealing, and
basic gutter cleaning generally add up to a few hundred dollars in materials at
most, and often considerably less. These tasks take a weekend afternoon and
require no specialized tools or training. Doing them yourself is both practical
and appropriate.
Professional Winterization Services
The professional side of
winterization involves your mechanical systems, and cutting corners here gets expensive. A furnace or heat pump tune-up, professional duct
sealing, attic insulation installation, and a home energy checkup all require licensed
technicians, specialized equipment, and permits where applicable. These
services cost more than the DIY tasks, but they address the systems that drive
the largest share of your winter energy bill and carry the most significant
safety implications if something goes wrong.
The general principle is
straightforward. DIY efforts handle the building envelope and are worth doing
first. Professional services handle the equipment inside that envelope and tend
to deliver the most measurable impact on comfort, efficiency, and system
reliability. Doing both together produces the best outcome.
Georgia homeowners may also qualify for rebates and
incentives through Georgia Power and federal energy efficiency programs that
can offset some professional winterization costs. Ask your Snappy
technician about current programs when you schedule service.
Ready to Winterize Your Home? Snappy Can Help with the Professional Steps.
The DIY items on this list,
weatherstripping, caulking, filter replacement, and pipe insulation, are
straightforward weekend tasks that any homeowner can complete. The professional
items, furnace tune-up, duct sealing, home energy audit, and gas appliance inspection,
are where Snappy's licensed technicians provide the most value.
We serve homeowners throughout
Marietta, Kennesaw, Woodstock, Dunwoody, Smyrna, and the greater North Atlanta
area, available 24 hours a day with no extra charge for after-hours calls.
Members of the Snappy Savings Club receive annual heating and
cooling tune-ups as part of their membership, making fall winterization
something you never have to think about scheduling separately.
Contact us or request
service online to schedule your fall heating tune-up, duct
inspection, or home energy checkup. And for situations that cannot wait, our 24/7 emergency services are always available.